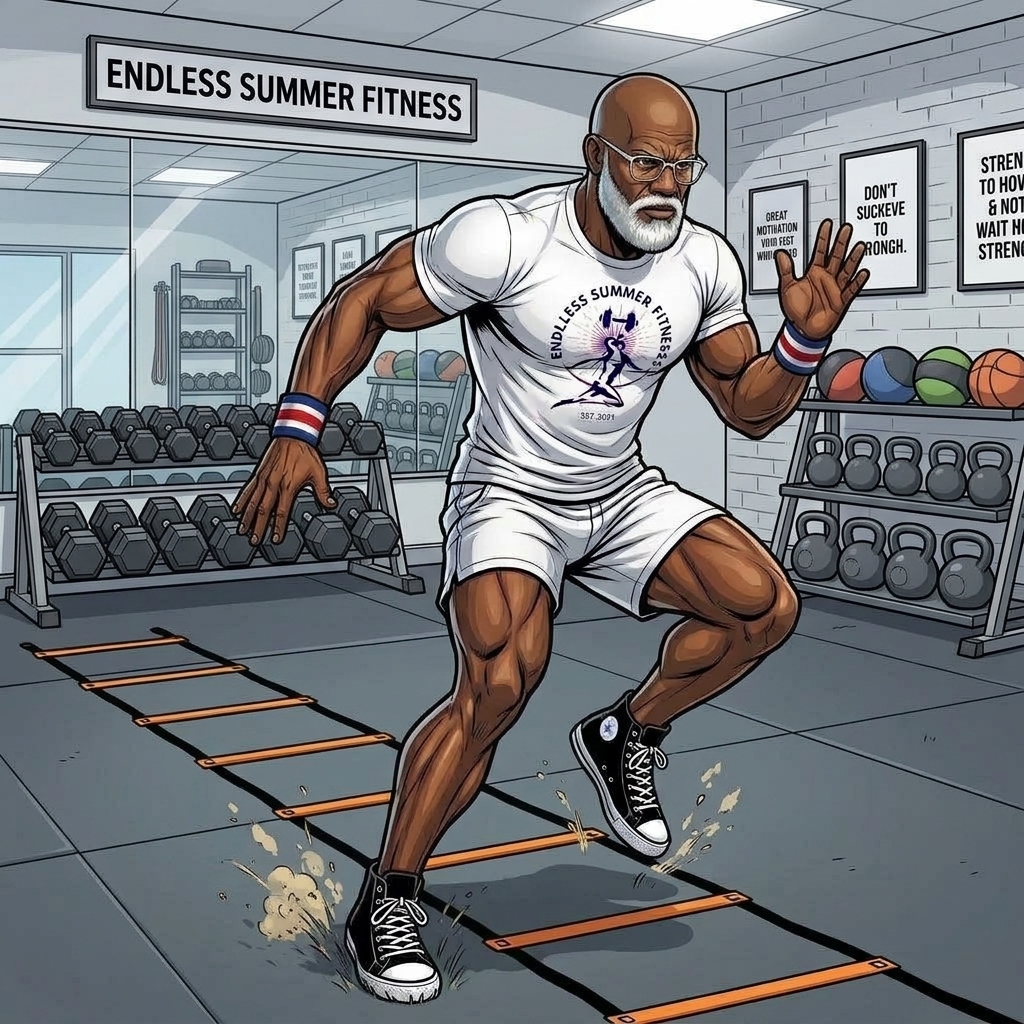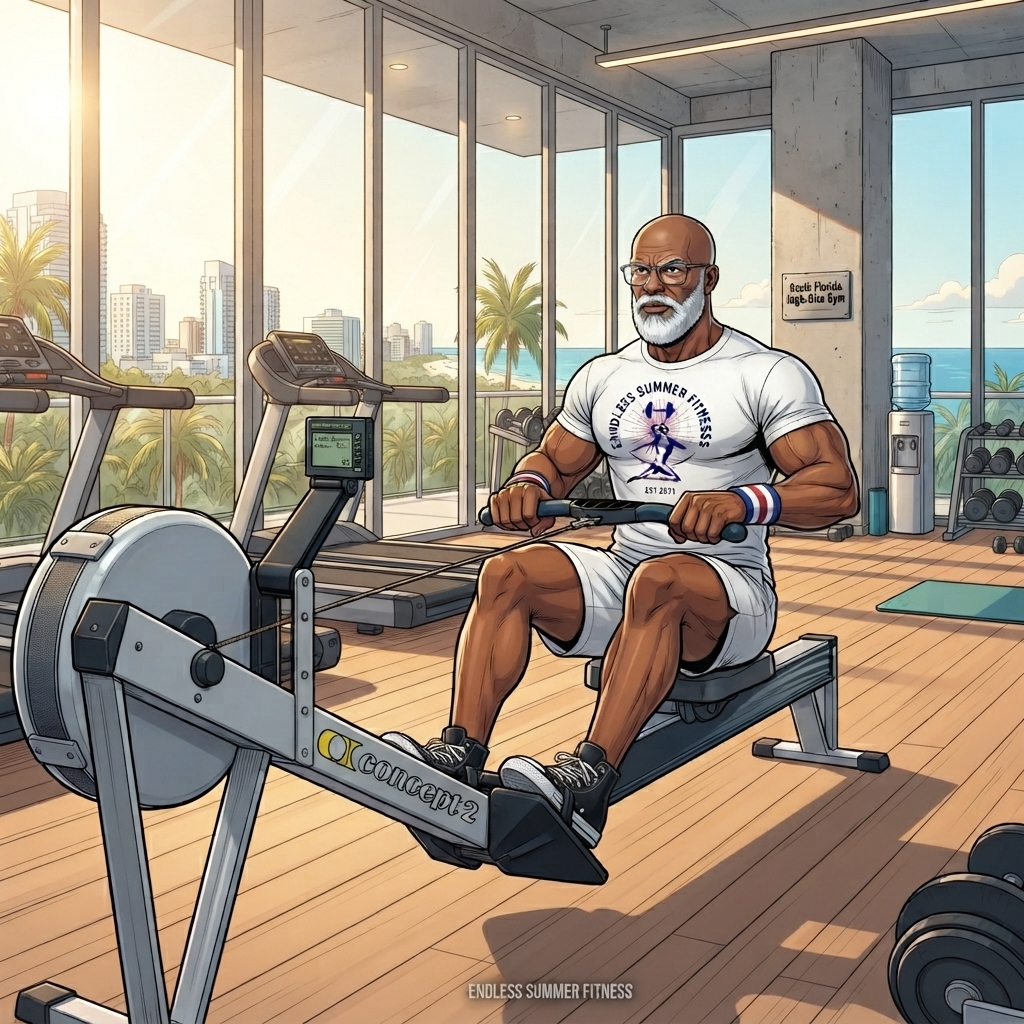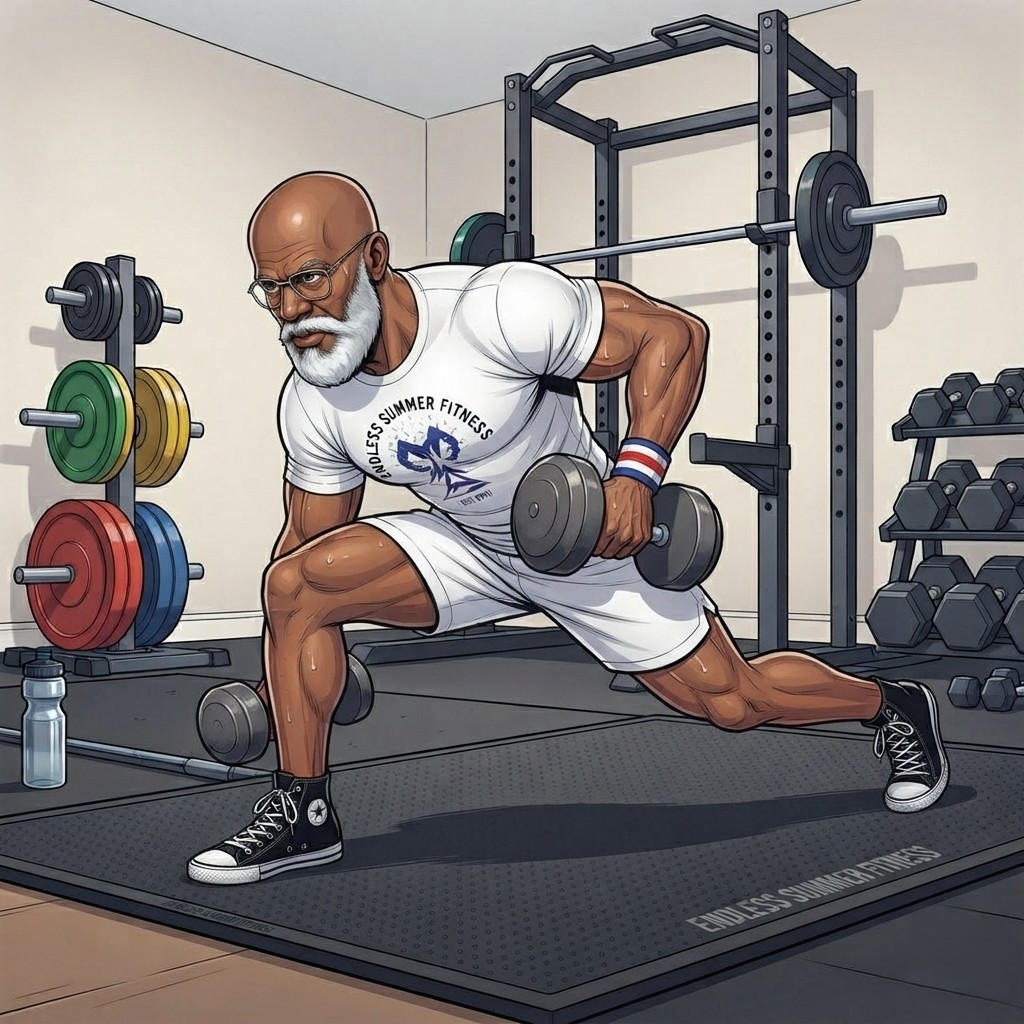
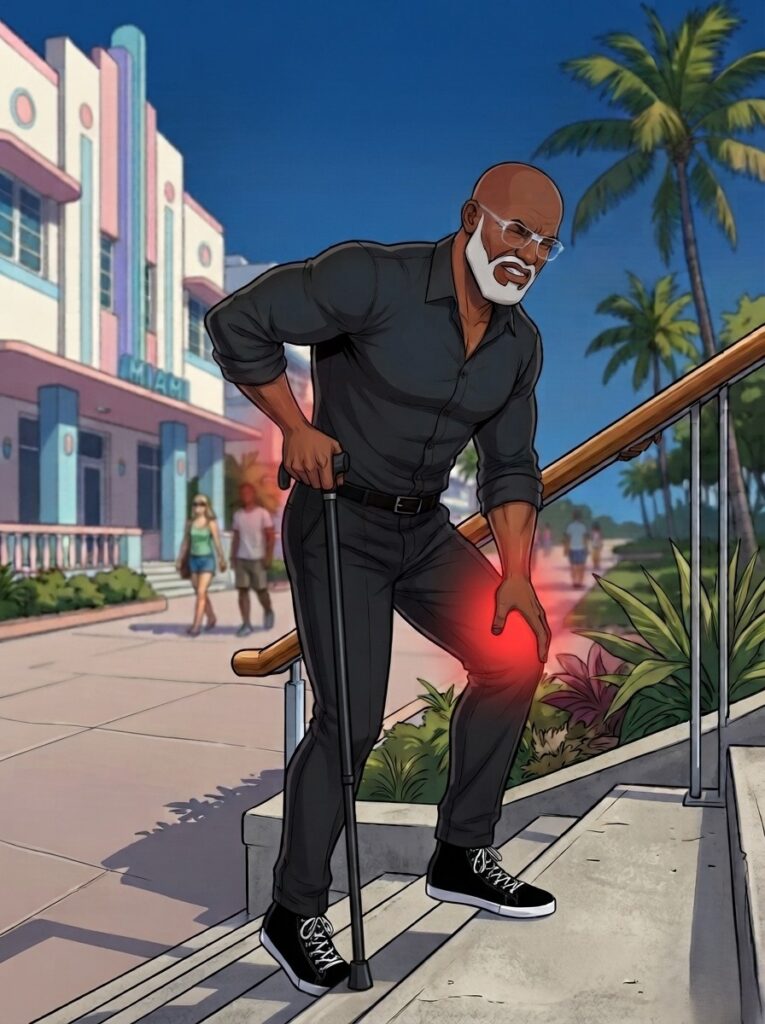
Graduating from formal physical therapy is a major milestone, but completing clinical rehab does not mean your training is finished. Once your physical therapist clears you for regular exercise, the next priority is maintaining joint stability, restoring leg symmetry, and rebuilding functional strength. This guide will help you obtain post-rehab knee strength.
However, transitioning straight from clinical care into high-impact workouts—like box jumps, heavy twisting, or running on uneven trails—can place excessive shear force on healing knee cartilage and ligaments.
The safest way to bridge the gap between physical therapy and lifelong fitness is through controlled, closed-kinetic-chain strength work. By utilizing stable foot placements, strict tempo control, and floor-supported or wall-supported positions, you can build durable lower-body capacity without exposing your knees to unnecessary impact.
Post-Rehab Execution Guidelines
Before starting, make sure your warm-up and movement mechanics are set up for maximum joint protection. For a complete breakdown on protecting aging joints during pressing movements, read our guide on Beginner Full-Body Workout Plan for Joint Strength..
- Verify Clinical Clearance: Ensure your physical therapist or orthopedic physician has fully cleared you for unassisted resistance training before starting this routine.
- Eliminate Ballistic Impact: Avoid jumping, cutting, or rapid pivoting. Focus on smooth, deliberate contractions where your feet remain firmly anchored.
- Respect Range of Motion: Move only within a comfortable, pain-free depth. Never force a joint past its current stable range.
- Enforce Eccentric Control: Take 3 full seconds to lower into every movement to maximize muscle engagement while keeping joint stress minimal.
Phase 1: Foundational Joint Stability
Focus on this phase for the first 4 to 6 weeks after graduating from physical therapy. Perform this routine 2 times per week with at least 48 hours of recovery between sessions. Complete 3 sets per exercise, resting 60 seconds between sets.
Warm-Up (5 Minutes)
- Stationary Marching: 2 minutes at an easy, controlled pace
- Supported Ankle Circles: 60 seconds per side (holding a wall for balance)
- Standing Glute Squeezes: 2 minutes (standing tall, contracting glutes for 3 seconds per rep)
Phase 1 Exercises
1. Wall-Supported Chair Squat
- Volume: 3 sets of 10–12 reps
- Speed: 3 seconds lowering, 1-second pause, 1 second standing up
- How to do it: Stand with your back flat against a wall and feet shoulder-width apart, stepped about 12 to 18 inches away from the baseboard. Slowly slide your back down the wall over 3 seconds until your knees reach a comfortable angle (no deeper than 90 degrees). Pause for 1 second, then push firmly through your heels to return to the top.
2. Supported Step-Back Lunge
- Volume: 3 sets of 8–10 reps per leg
- Speed: 3 seconds lowering, 1 second stepping up
- How to do it: Stand alongside a sturdy wall or countertop, placing one hand on the surface for balance. Take a controlled step backward with your right leg, lowering your hips straight down over 3 seconds. Keep your front knee directly over your ankle. Push through your front heel to step back to the starting position. Complete all reps on one side before switching.
3. Supine Single-Leg Glute Bridge
- Volume: 3 sets of 10–12 reps per leg
- Speed: 1 second raising, 2-second squeeze, 3 seconds lowering
- How to do it: Lie flat on your back on a mat with knees bent and feet flat on the floor. Extend your non-working leg straight out or pull it slightly toward your chest. Drive through the heel of your working foot to lift your hips until your thigh and torso align. Squeeze your glute for 2 seconds at the top, then lower over 3 seconds.
4. Supported Straight-Leg Elevation
- Volume: 3 sets of 12–15 reps per leg
- Speed: 2 seconds lifting, 2-second hold, 3 seconds lowering
- How to do it: Lie on your back on a mat. Bend your left knee with foot flat on the floor, and extend your right leg straight out. Contract your right quadriceps to lock the knee, then slowly raise the leg until it aligns with your left thigh. Hold for 2 seconds, then lower under control over 3 seconds.
Cool-Down (5 Minutes)
- Supported Calf Stretch: 60 seconds per leg
- Seated Hamstring Lengthener: 60 seconds per leg
- Supine Figure-Four Stretch: Hold for 60 seconds per side on a padded mat
Phase 2: Functional Strength & Balance
Transition to Phase 2 once you can complete all Phase 1 exercises with clean form, full balance, and zero joint inflammation.
Warm-Up (5 Minutes)
- Side Step-Touches: 2 minutes
- Supported Hip Hinge Practice: 3 minutes
Phase 2 Exercises
1. Kickstand Romanian Deadlift
- Volume: 3 sets of 10–12 reps per leg
- Speed: 3 seconds lowering, 1 second standing up
- How to do it: Stand tall with feet hip-width apart. Shift 80% of your weight onto your left foot, placing the toes of your right foot slightly behind you like a kickstand for balance. Hinge at your hips, pushing your glutes backward while lowering your torso over 3 seconds until you feel a soft stretch in your left hamstring. Squeeze your glutes to return to standing.
2. Step-Up to Balance Block
- Volume: 3 sets of 8–10 reps per leg
- Speed: 1 second stepping up, 2-second balance pause, 3 seconds lowering
- How to do it: Stand in front of a low step or 4-inch wooden block. Place your entire left foot firmly onto the step. Drive through your left heel to stand tall on the step, bringing your right knee up to hip height into a brief 2-second balance. Lower your right foot back to the floor under strict 3-second control.
3. Standing Lateral Band Walk
- Volume: 3 sets of 10–12 steps per direction
- Speed: Controlled, deliberate steps
- How to do it: Place a light mini-band around your thighs (just above the knees). Stand with feet shoulder-width apart, knees soft, and chest upright. Take a controlled step to the right, maintaining tension on the band, then bring your left foot in slightly so feet remain shoulder-width apart. Complete 10 steps right, then 10 steps left.
4. Supported Single-Leg Calf Raise
- Volume: 3 sets of 12–15 reps per leg
- Speed: 1 second rising, 2-second pause, 3 seconds lowering
- How to do it: Stand facing a wall with fingertips touching for balance. Lift your left foot off the floor so your weight is entirely on your right foot. Press through the ball of your right foot to raise your heel as high as possible. Pause for 2 seconds at the top, then lower down slowly over 3 seconds.
Cool-Down (5 Minutes)
- Standing Quadriceps Stretch: 60 seconds per leg (holding a wall for support)
- Seated Adductor Stretch: Hold for 2 minutes on the mat
- Child’s Pose: Hold for 2 minutes on a padded mat
Guidelines for Long-Term Knee Health
- Monitor Post-Workout Response: Joint swelling or sharp pain within 24 hours of a session indicates that volume or depth was too high. Scale back depth or reps during the next workout.
- Prioritize Quadriceps & Glute Capacity: Strong glutes reduce inward knee collapse (valgus displacement), while strong quadriceps stabilize the kneecap (patella) during daily movements.
- Avoid Unstable Surfaces: Performing strength work on unstable balance boards or foam pads introduces unnecessary joint twist. Stick to flat, solid flooring.
Summary
Safely transitioning from physical therapy into long-term fitness requires a deliberate, low-impact strategy. By prioritizing closed-kinetic-chain strength, strict lowering tempos, and stable joint angles, you can build resilient legs and protect your knees for years to come.
Peer-Reviewed References & Standards
-
American College of Sports Medicine (ACSM)
Guideline: Progressive Resistance Training Following Musculoskeletal Injury.
Takeaway: Advocates for non-ballistic, closed-kinetic-chain exercises to restore neuromuscular control and muscle volume without overloading healing articular structures.
Link: ACSM Physical Activity Guidelines -
National Strength and Conditioning Association (NSCA)
Guideline: Post-Rehabilitation Exercise Programming Protocols.
Takeaway: Emphasizes the importance of bilateral and supported unilateral movements to correct side-to-side strength deficits after formal therapy.
Link: NSCA Education & Research -
Journal of Orthopaedic & Sports Physical Therapy (JOSPT)
Study: Long-Term Knee Joint Health and Load Management Post-Rehabilitation
Takeaway: Demonstrates that controlled eccentric loading and avoiding high-impact shear forces significantly lowers the risk of secondary joint irritation and promotes joint longevity.
Link: PubMed Central Research
Medical Disclaimer: This article is for educational and informational purposes only and does not constitute medical advice. Always consult your orthopedic physician or physical therapist before starting a post-rehabilitation exercise routine.