Walking through your local park or neighborhood is one of the simplest ways to maintain cardiovascular health. However, walking alone does not provide the resistance needed to preserve lean muscle mass, support bone density, or maintain joint stability. Learn about joint-safe outdoor fitness strength sessions.
You do not need to perform high-impact sprints, box jumps, or aggressive plyometrics to build effective full-body strength outdoors.
By utilizing a standard park bench for elevation and leverage, you can increase exercise difficulty or reduce joint strain while keeping your feet securely on the ground. Combining a brisk walking pace with controlled, joint-sparing bodyweight movements turns an ordinary walk into a balanced, full-body conditioning session.
Safety & Execution Rules
- Prioritize Stable Surfaces: Ensure the park bench or wall you use is dry, securely anchored, and free of debris before starting any exercise.
- Control the Lowering Phase: Take 3 full seconds to lower into every push-up, squat, or lunge. Controlled tempo maximizes muscle tension without placing impact shock on your joints.
- Avoid Extreme Joint Angles: Never lower yourself to a point that causes pinching or sharp discomfort in your shoulders, knees, or lower back.
- Maintain Spinal Alignment: Keep your torso upright and core braced during all movements rather than rounding your spine to complete a rep.
The Joint-Safe Park Bench Routine
Perform this routine 2 to 3 times per week during your regular outdoor walk. Complete 3 sets of each exercise, resting 45 to 60 seconds between sets.
Warm-Up (5 Minutes)
- Brisk Walking: 3 minutes at an invigorating, steady pace
- Gentle Arm Swings: 60 seconds (crossing arms horizontally across the chest)
- Supported Ankle & Hip Circles: 60 seconds (holding the bench backrest for balance)
Outdoor Park Bench Exercises
1. Incline Bench Push-Up
- Volume: 3 sets of 10–12 reps
- Speed: 3 seconds lowering, 1-second pause, 1 second pressing up
- How to do it: Place your hands slightly wider than shoulder-width apart on the backrest or seat of a sturdy park bench. Step your feet back so your body forms a straight line from head to heels. Slowly lower your chest toward the bench over 3 seconds by bending your elbows at a 45-degree angle. Pause for 1 second, then press through your palms to return to the top.
2. Bench-Supported Step-Up
- Volume: 3 sets of 8–10 reps per leg
- Speed: 1 second stepping up, 1-second pause, 3 seconds lowering
- How to do it: Stand facing the bench seat. Place your entire left foot flat onto the bench surface. Driving firmly through your left heel, step up until your left leg is straight and your right foot rests lightly beside it. Hold your balance for 1 second, then slowly lower your right foot back to the ground over 3 full seconds under complete control. Complete all reps on one leg before switching.
3. Elevated Incline Plank
- Volume: 3 sets holding for 30–45 seconds
- Speed: Static hold with steady breathing
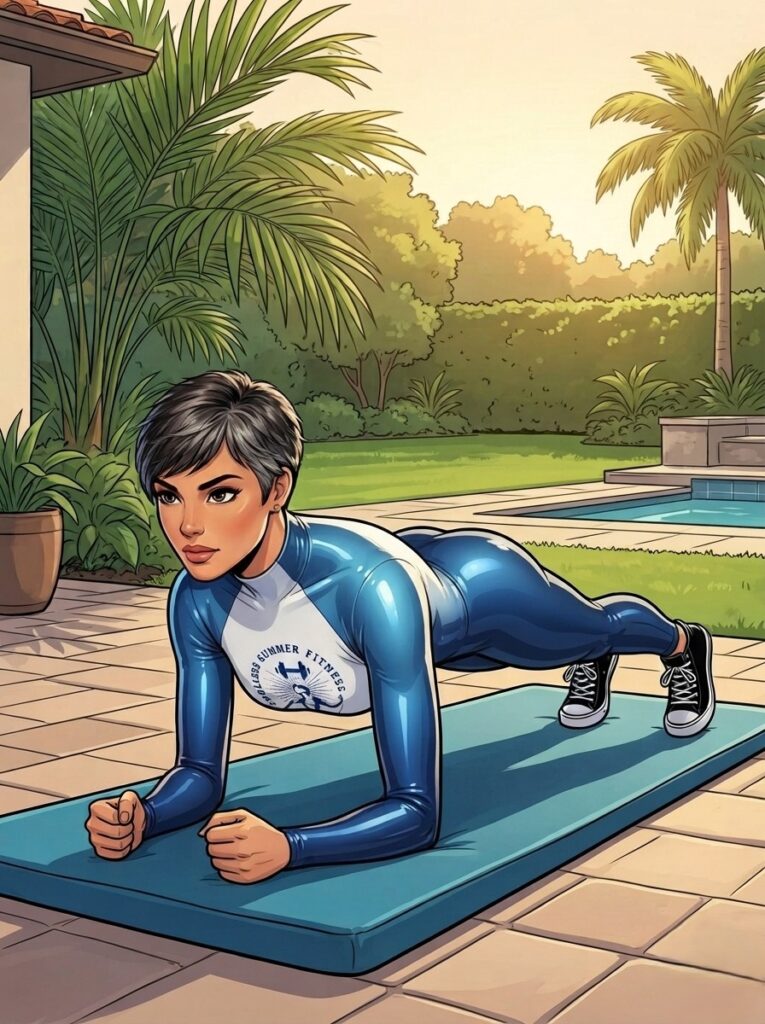
- How to do it: Place your forearms or palms flat on the bench seat with elbows directly beneath your shoulders. Step your feet back until your body forms a rigid bridge from your head to your ankles. Brace your abdominal muscles and contract your glutes. Hold this position while breathing deeply, preventing your hips from sagging or rising.
4. Step-Back Lunge with Bench Support
- Volume: 3 sets of 10–12 reps per leg
- Speed: 3 seconds lowering, 1 second stepping up
- How to do it: Stand alongside the park bench, placing one hand lightly on the backrest for balance. Step backward with your outside leg, lowering your hips straight down over 3 seconds until both knees form roughly 90-degree angles. Keep your front knee aligned over your ankle. Push through your front heel to return to standing.
5. Seated Glute Bridge (Bench Edge)
- Volume: 3 sets of 12–15 reps
- Speed: 1 second raising, 2-second squeeze, 3 seconds lowering
- How to do it: Sit on the edge of the bench with your feet flat on the ground, hip-width apart. Rest your hands on the bench seat beside your hips. Shift your weight into your heels and drive your hips upward, contracting your glutes firmly at the top for 2 full seconds. Lower your hips back to the bench edge over 3 seconds under strict control.
Cool-Down (5 Minutes)
- Bench-Supported Standing Calf Stretch: 60 seconds per leg
- Bench Hamstring Stretch: Place one heel on the low bench rail, hinge softly at the hips, and hold for 60 seconds per leg
- Chest & Shoulder Opener: Hold the bench backrest with both hands behind you, stand tall, and hold for 60 seconds
How to Structure Your Outdoor Workout Walk
- Walk First: Complete 10 to 15 minutes of steady walking to ensure your muscles and connective tissues are thoroughly warm before starting resistance exercises.
- Perform Exercises in Sequence: Complete all sets for one exercise before moving to the next, rather than rushing through a high-intensity circuit.
- Finish with Recovery Walking: End your session with 5 to 10 minutes of easy, relaxed walking to bring your heart rate back to baseline before stretching.
Summary
You do not need high-impact running, explosive jumps, or heavy equipment to turn a park walk into an effective workout session. By utilizing a park bench for proper exercise leverage and focusing on controlled, 3-second lowering tempos, you can build full-body strength and improve balance while protecting your joints.
Peer-Reviewed References & Standards
-
American College of Sports Medicine (ACSM)
Guideline: Physical Activity Guidelines for Outdoor Fitness and Functional Aging.
Takeaway: Recommends integrating closed-kinetic-chain bodyweight exercises with moderate aerobic walking to preserve muscle mass and improve joint stability in adults.
Link: ACSM Physical Activity Guidelines -
National Strength and Conditioning Association (NSCA)
Guideline: Bodyweight Exercise Modifications for Joint Protection.
Takeaway: Highlights the effectiveness of elevating upper-body push movements (such as incline push-ups) to reduce shear load on the shoulders and lower back.
Link: NSCA Education & Research -
Journal of Aging and Physical Activity
Study: Biomechanical Impact of Low-Velocity Exercise vs. High-Impact Conditioning
Takeaway: Confirms that low-velocity, controlled eccentric movements build lower-body capacity and improve balance without the joint degradation associated with plyometric impact.
Link: PubMed Central Research
Medical Disclaimer: This article is for educational and informational purposes only and does not constitute medical advice. Always consult a physician or certified fitness professional before starting a new outdoor exercise program.