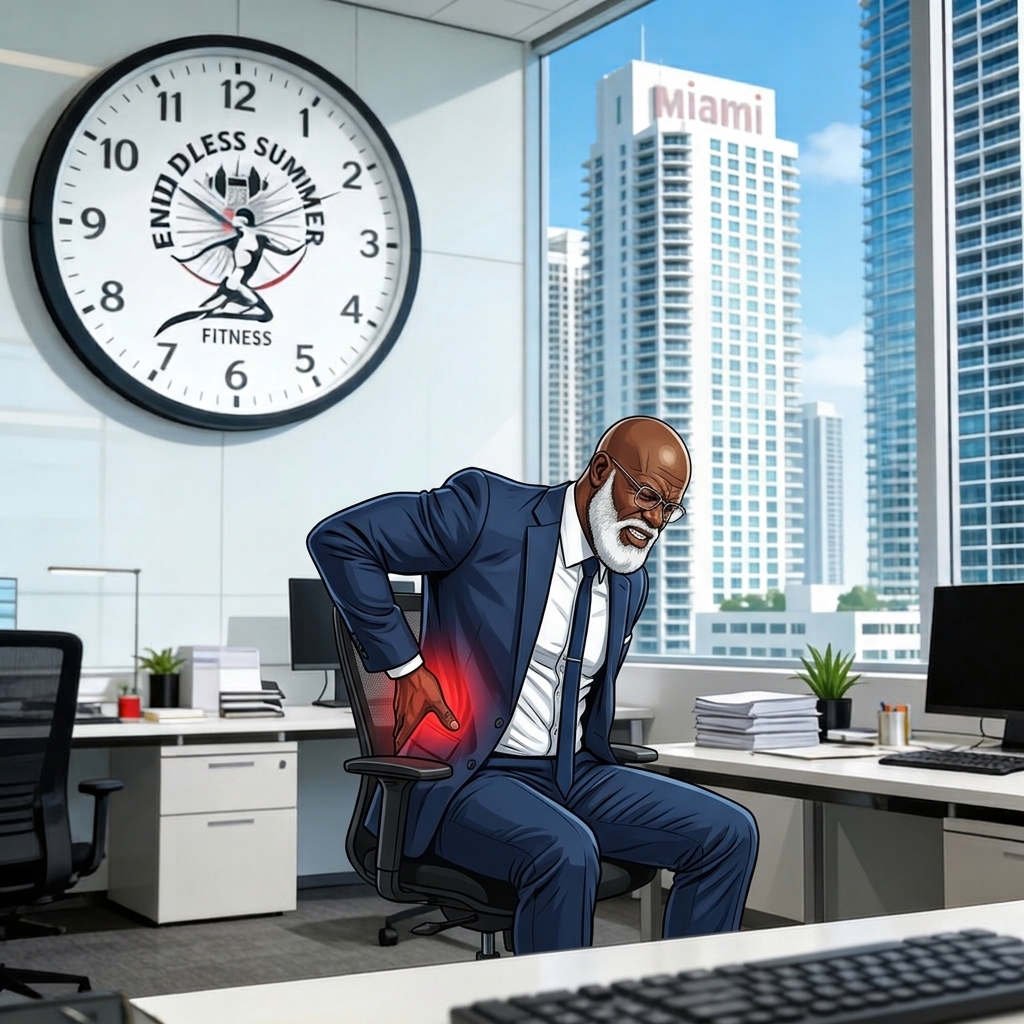
Chronic lower back pain changes how you move through your day. You hesitate before bending down to tie your shoes. You avoid picking up heavy objects.
Most adults over 40 don’t need more intensity. They need more consistency.
Hybrid fitness blends strength training, mobility work, and low-impact movement into a single approach that protects your spine. Instead of choosing between lifting weights and doing cardio, you combine them in a way your back can actually tolerate.
New to working out?
If you are just getting started with combining strength, cardio, and mobility into one routine, read Start Here: Your Simple, Confident Guide to Beginning Fitness.
Read: How to Start Hybrid Fitness Training at Home
Why Traditional Workouts Fail Sensitive Backs
Back pain usually stems from weak glutes, tight hips, poor core endurance, or restricted movement in the upper back. Traditional routines often rely on high-impact jumping, heavy spinal loading, or repetitive bending under load.
Those movements aggravate sensitive tissues. Hybrid training solves this by training your body across multiple systems simultaneously. Strength builds the muscles that stabilize your spine. Mobility reduces stiffness in your hips and mid-back. Endurance improves blood flow and reduces inflammation.
Low-load strength training and mobility work significantly reduce chronic low-back pain symptoms. Controlled tempo work creates a stable foundation for pain-sensitive populations.
The 5 Best Hybrid Fitness Exercises for Chronic Back Pain
1. Half-Kneeling Single-Arm Kettlebell Press
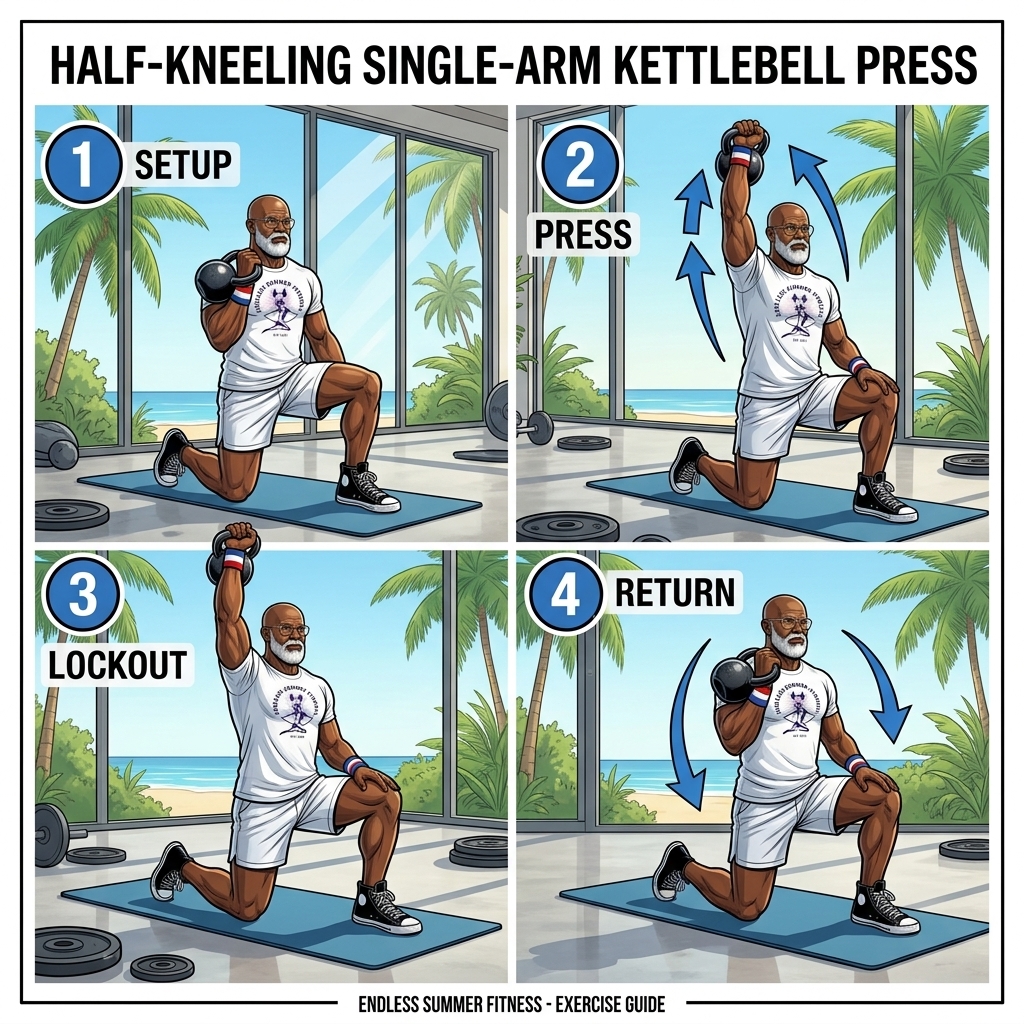
Overhead pressing often triggers lower back arching if your pelvis is unstable. This half-kneeling variation locks your lower body in place.
Execution: Kneel on your right knee with your left foot flat on the floor in front of you. Hold a kettlebell at your right shoulder height. Brace your glutes and core tightly, then press the weight upward along a controlled path to full arm extension. Lower the bell slowly under tension for three seconds back to your shoulder. Complete three sets of eight to ten repetitions per side, resting ninety seconds.
Coaching Tip: Keep your ribcage tucked down. Do not arch your lower back as you press overhead.
2. B-Stance Hip Hinge
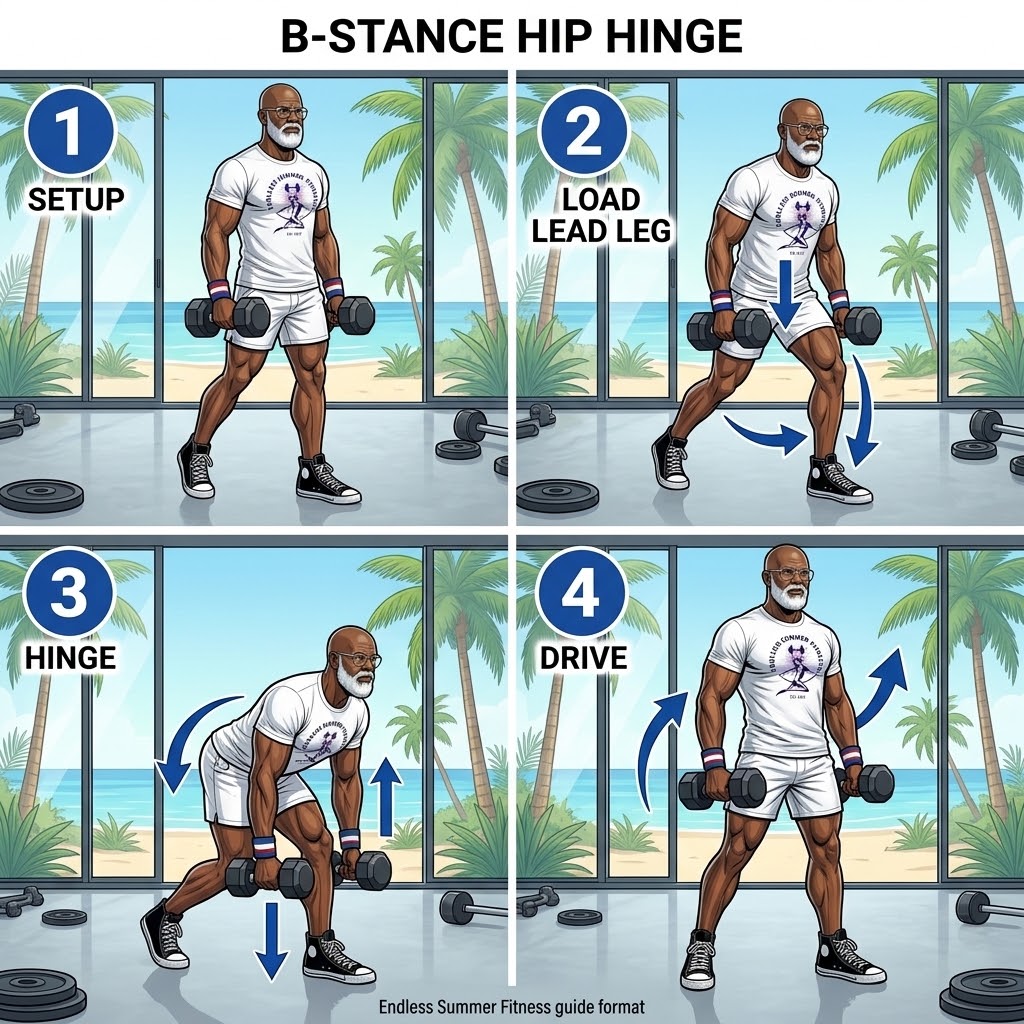
Traditional deadlifts can place heavy shear stress on a sensitive lumbar spine. A staggered stance shifts the load to your hips while protecting your lower back.
Execution: Stand tall holding dumbbells by your sides. Step your right foot slightly backward, resting only your toes on the floor for balance. Soften your knees and push your hips straight back toward the wall behind you. Lower the weights until you feel a stretch in your front hamstring, then drive your hips forward to stand. Perform three sets of eight repetitions per leg, resting seventy-five seconds.
Important Point: Keep your spine neutral. The movement comes entirely from your hip joint, not your lower back.
3. Tall-Kneeling Band Lat Pulldown
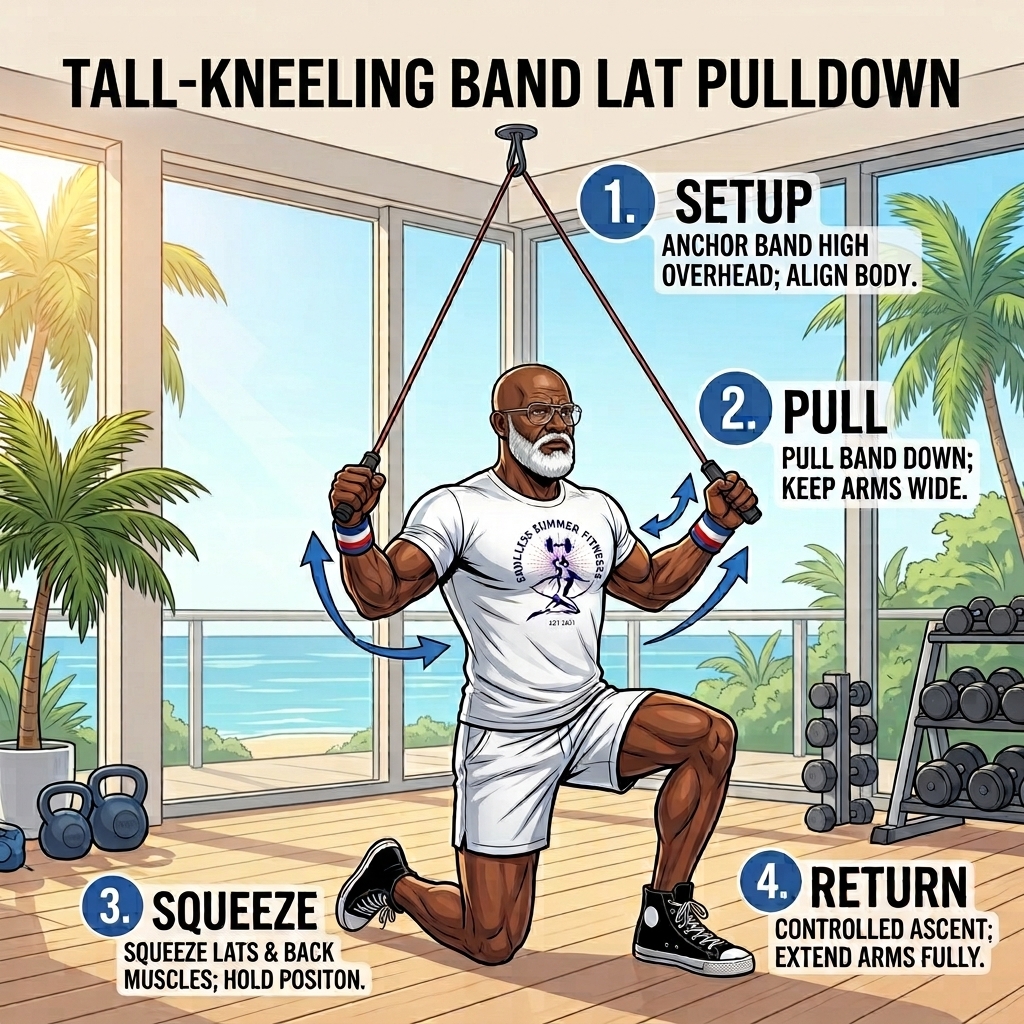
Vertical pulling strengthens your upper back and improves posture, but standing pulldowns often cause people to hyperextend their lower backs.
Execution: Anchor a resistance band overhead. Kneel tall on both knees facing the anchor point. Grab the handles with straight arms, engage your glutes, and pull your elbows down and back toward your ribs. Hold for one second before returning slowly to the starting position. Complete three sets of twelve repetitions, resting sixty seconds.
Coaching Tip: Maintain a tall, upright posture. Pull with your lats instead of shrugging your shoulders toward your ears.
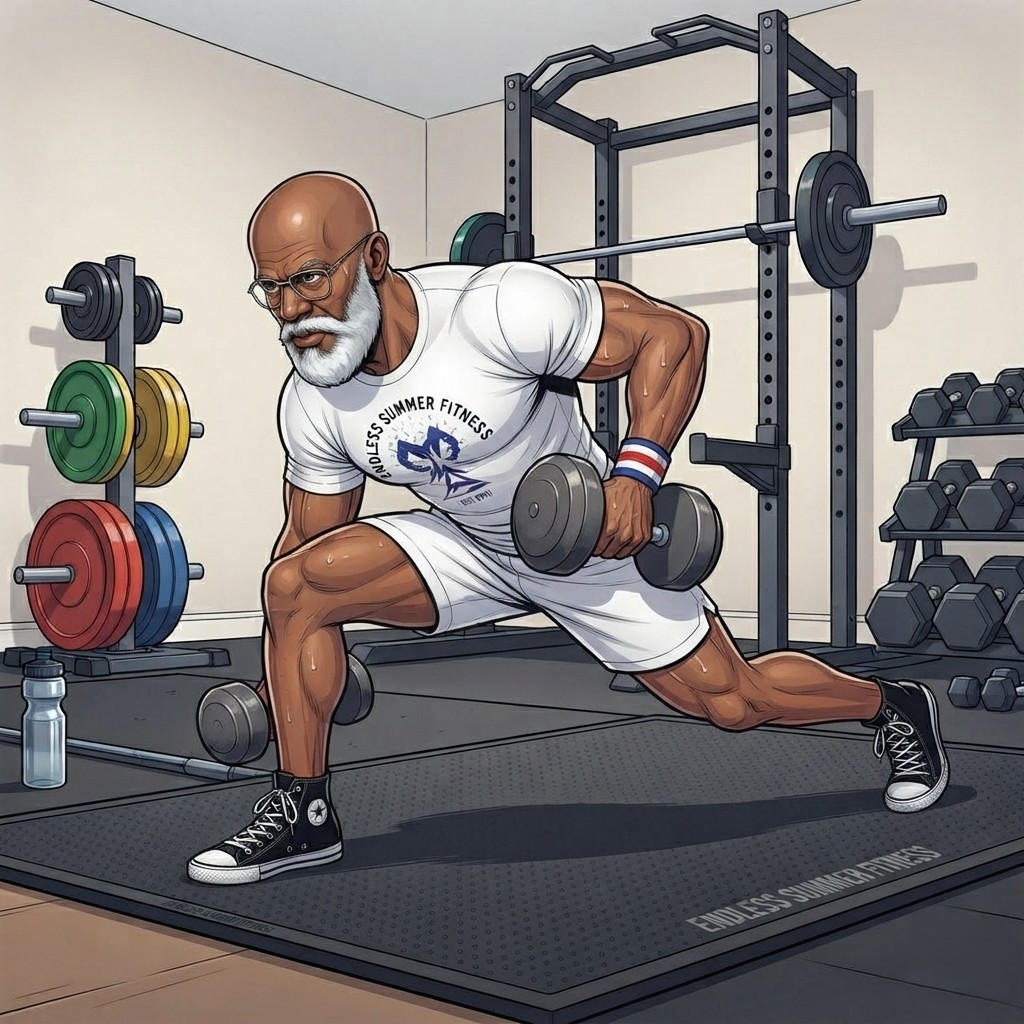
4. Reverse Slider Lunge with Reach
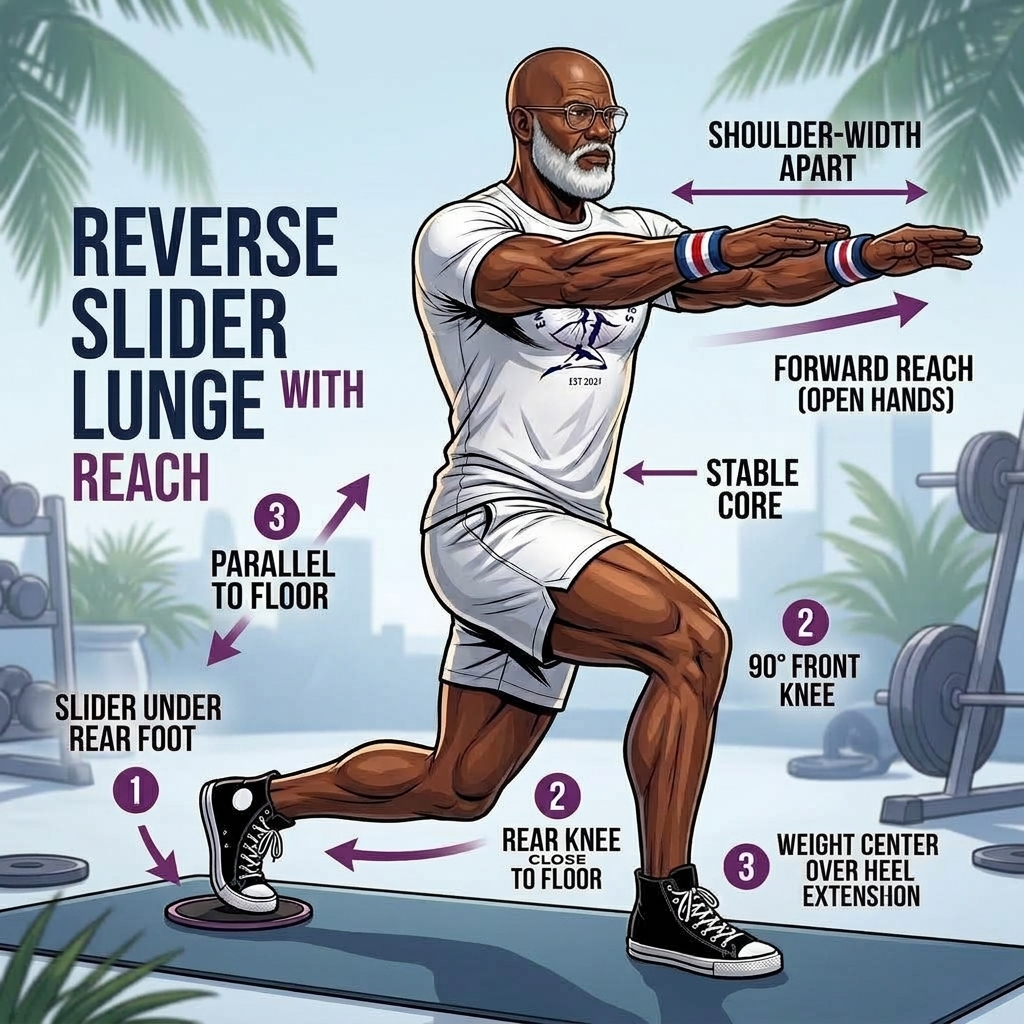
Lunges can aggravate sensitive knees and lower backs when performed with excessive forward momentum. Using a slider keeps the movement smooth and joint-friendly.
Execution: Stand tall with your right foot resting on a small slider or towel. Slide your right foot straight back while bending your left knee, reaching both arms forward to counterbalance your torso. Push through your front mid-foot to slide back to the starting position. Complete three sets of eight repetitions per side, resting sixty seconds.
Coaching Tip: Keep your front shin vertical and your torso stable. The reach helps engage your deep core without straining your spine.
5. Marching Glute Bridge
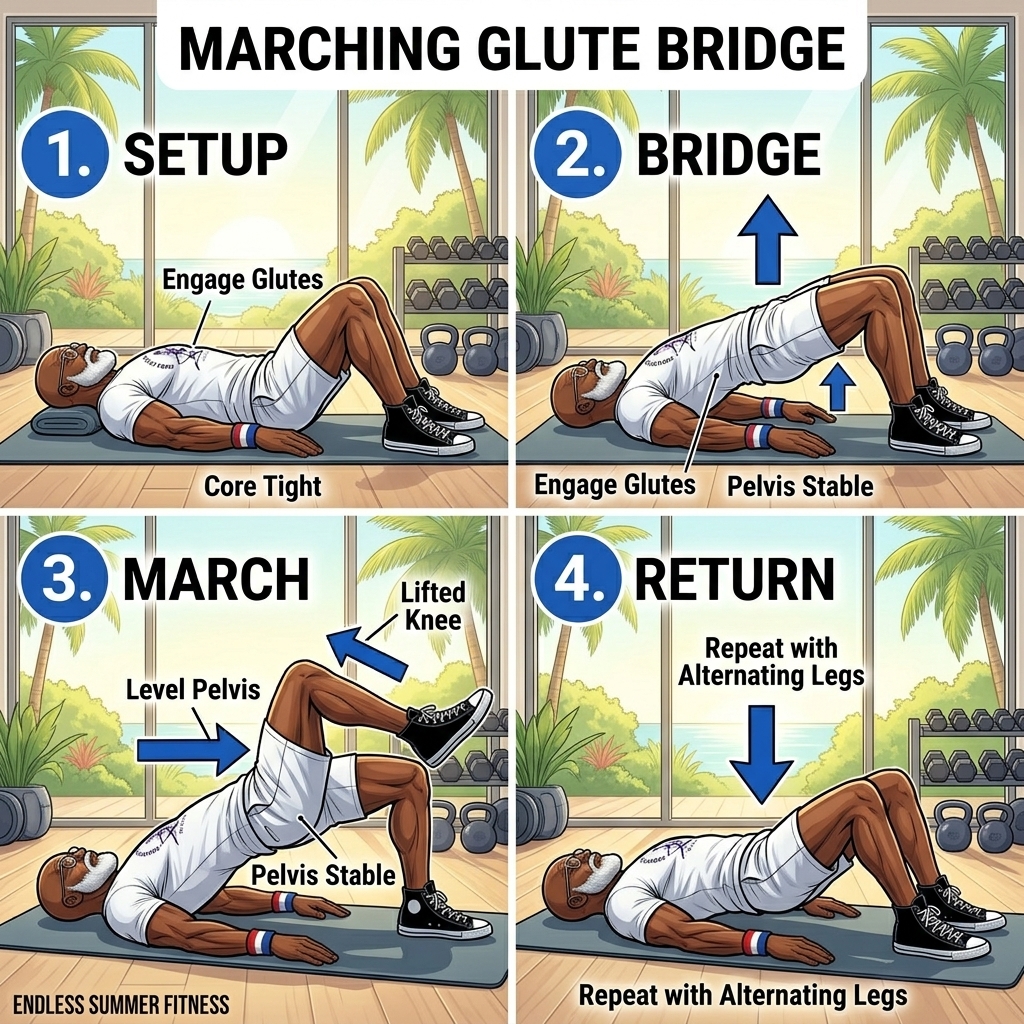
Glute bridges build posterior chain endurance, but adding a marching movement forces your pelvis to stay stable against rotational forces.
Execution: Lie on your back with your knees bent and feet flat on the floor. Drive through your heels to lift your hips into a straight line from shoulders to knees. Maintain that bridge position while slowly lifting your right foot a few inches off the floor, pause, set it down, and repeat with your left foot. Complete three sets of ten slow marches per side, resting sixty seconds.
Coaching Tip: Do not let your hips drop or twist when you lift one foot. Your obliques and glutes must work together to keep your pelvis level.
Building Your Weekly Routine
Consistency beats intensity every single time. A few minutes of quality movement often works better than an hour of punishment.
Strength Days: Two sessions per week focusing on the movements above.
Cardio Days: Two sessions of low-impact walking or stationary cycling.
Daily Mobility: Five minutes of gentle hip and mid-back stretching.
Key Research and Evidence
-
American College of Sports Medicine. Guidelines for low-load resistance training and chronic back pain management. https://www.acsm.org
-
National Academy of Sports Medicine. Stabilization principles for movement-sensitive populations. https://www.nasm.org
-
Spine Journal. Efficacy of posterior chain strengthening and core stability for lumbar health. https://www.sciencedirect.com/journal/the-spine-journal
Medical Disclaimer
This article is for educational and informational purposes only and does not constitute medical advice. Always consult a physician or certified fitness professional before beginning a new exercise program, especially if you have pre-existing medical conditions or chronic pain.