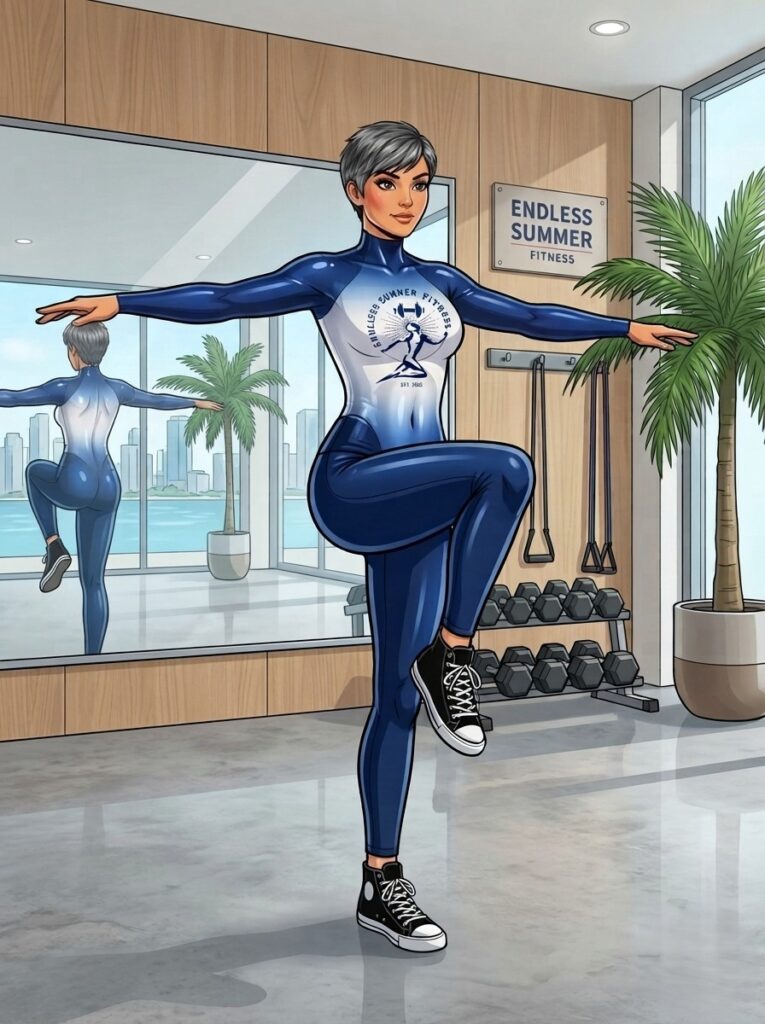
Building a consistent fitness routine does not require specialized gym equipment or commercial machine access. You can develop total-body strength, improve joint stability, and increase cardiovascular endurance using bodyweight movements performed in a small space.
Editor’s Note: Short on time and tired of nagging joint pain from high-impact cardio? Check out No-Run Endurance: 7 Low-Impact Secrets for Busy Pros and learn seven practical, time-efficient strategies to elevate your endurance without taking a single stride on the pavement.
This six-exercise routine uses progressive movement patterns that target your core, lower body, upper body, and cardiovascular system. It follows standard exercise science principles to build foundational strength while keeping joint stress low.
1. Forearm Plank
- Movement Pattern: Core Isometric Stabilization
- Primary Muscles: Transverse Abdominis, Rectus Abdominis, Anterior Deltoids
- Prescription: 3 sets of 20 to 30 second holds
- Rest: 45 seconds between sets
Biomechanical Benefit
The forearm plank builds isometric strength across your entire trunk without placing flexional shear stress on your lumbar spine. Maintaining a neutral spine against gravity trains the deep core muscles that support your lower back during daily activities.
Execution Instructions
- Lie face down on a mat and place your forearms on the floor with your elbows positioned directly beneath your shoulders.
- Extend your legs straight behind you, resting your weight on the balls of your feet.
- Squeeze your glutes and pull your belly button inward toward your spine to lift your hips.
- Keep your head, shoulders, hips, and heels aligned in a straight line.
- Breathe continuously while holding the position for the prescribed duration.
Modification: Place your knees on the floor while maintaining a straight line from your head to your knees if your hips sag.
2. Single-Leg Balance Hold
- Movement Pattern: Unilateral Stability and Proprioception
- Primary Muscles: Gluteus Medius, Peroneals, Tibialis Anterior
- Prescription: 3 sets of 20 to 30 seconds per leg
- Rest: 30 seconds between sides
Biomechanical Benefit
Unilateral balance training isolates each leg to identify and correct strength imbalances between your left and right hips. Strengthening the foot, ankle, and hip stabilizers improves balance and protects your knee joint from collapsing inward during locomotion.
Execution Instructions
- Stand upright on a flat surface with your feet hip-width apart and your hands on your hips or by your sides.
- Shift your body weight over your left leg while keeping a subtle, soft bend in your left knee.
- Slowly lift your right foot two to three inches off the floor.
- Keep your hips level and look at a fixed point directly in front of you to maintain stability.
- Hold the position for 20 to 30 seconds, then switch legs.
Modification: Place one hand on a sturdy chair, wall, or countertop for light balance support if you experience excessive swaying.
3. Bodyweight Squat to Calf Raise
- Movement Pattern: Lower Body Knee-Dominant Push
- Primary Muscles: Quadriceps, Gluteus Maximus, Gastrocnemius, Soleus
- Prescription: 3 sets of 10 to 12 repetitions
- Rest: 60 seconds between sets
Biomechanical Benefit
This compound movement strengthens your hips and thighs through a full range of motion while loading the calf muscles at the top of the extension. Allowing your knees to move naturally over your toes ensures an even distribution of force across your ankle, knee, and hip joints.
Execution Instructions
- Stand with your feet shoulder-width apart and your toes angled slightly outward.
- Inhale, push your hips back slightly, and bend your knees to lower your body into a squat.
- Continue lowering until your thighs are roughly parallel to the floor, or as far as your comfortable range of motion allows without rounding your lower back.
- Exhale, press through your whole foot to stand back up, and immediately transition onto the balls of your feet to perform a calf raise.
- Hold the raised position for one second, lower your heels to the floor, and begin the next repetition.
4. Incline or Knee Push-Up
- Movement Pattern: Upper Body Horizontal Press
- Primary Muscles: Pectoralis Major, Anterior Deltoids, Triceps Brachii
- Prescription: 3 sets of 8 to 12 repetitions
- Rest: 60 seconds between sets
Biomechanical Benefit
Push-ups strengthen your chest and triceps while requiring your serratus anterior and core to stabilize your trunk. Modifying the movement with an elevated surface or knee position allows beginners to practice full shoulder range of motion without straining their neck or lower back.
Execution Instructions
- Place your hands on a sturdy elevated surface (such as a kitchen counter, sturdy table, or bench) slightly wider than shoulder-width apart.
- Step your feet back until your body forms a straight line from your head to your heels.
- Inhale and bend your elbows to lower your chest toward the surface, keeping your elbows tracking back at a 45-degree angle to your torso.
- Lower until your chest is two inches from the surface, then exhale and press forcefully through your palms to return to the starting position.
Modification: Perform the movement on your knees on the floor if an elevated surface is unavailable.
5. Bodyweight Hinge with Pause (Low-Impact Alternative)
- Movement Pattern: Lower Body Hip Hinge
- Primary Muscles: Hamstrings, Gluteus Maximus, Erector Spinae
- Prescription: 3 sets of 10 to 12 repetitions
- Rest: 45 seconds between sets
Biomechanical Benefit
High-impact explosive jumps place excessive ground reaction forces on unconditioned joints. Replacing jump squats with a controlled hip hinge teaches proper posterior chain engagement, strengthening your hamstrings and glutes while protecting your knee cartilage and lower back.
Execution Instructions
- Stand with your feet hip-width apart, knees slightly unlocked, and hands placed behind your head.
- Hinge forward at your hips by pushing your glutes back toward the wall behind you while maintaining a flat, neutral spine.
- Lower your torso until it is nearly parallel to the floor, feeling a firm stretch in your hamstrings.
- Pause at the bottom position for two seconds, then squeeze your glutes and push your hips forward to return to standing.
6. Modified Low-Impact High Knees
- Movement Pattern: Aerobic Conditioning and Hip Flexor Mobility
- Primary Muscles: Iliopsoas, Rectus Femoris, Core Stabilizers
- Prescription: 3 sets of 30 to 45 seconds
- Rest: 45 seconds between sets
Biomechanical Benefit
Alternating high-knee marches in place raise your heart rate and build functional aerobic capacity without the joint impact associated with running or jogging. The controlled lifting motion also improves hip flexor strength and standing core control.
Execution Instructions
- Stand tall with your feet hip-width apart and your chest lifted.
- Exhale as you lift your right knee toward your chest until your thigh is parallel to the floor, simultaneously swinging your left arm forward.
- Lower your right foot gently back to the floor and immediately lift your left knee to hip height while swinging your right arm forward.
- Continue marching in place at a steady, rhythmical pace while keeping your torso upright and avoiding leaning backward.
Structure and Progression Rules
Warm-Up Protocol
Spend 3 to 5 minutes performing dynamic movements before starting this routine. Examples include leg swings, arm circles, and gentle torso twists to increase core body temperature, lubricate joint cartilage, and prepare your nervous system for movement.
Cool-Down Protocol
Conclude your session with 3 to 5 minutes of low-intensity static holds, such as a standing quad stretch, doorway chest opener, and supine hamstring stretch. Hold each stretch for 20 to 30 seconds to restore muscle length and support recovery.
Training Frequency
Perform this routine two to three non-consecutive days per week (e.g., Monday, Wednesday, Friday). Your muscles, tendons, and ligaments require 48 hours of rest between full-body strength sessions to repair tissue and adapt to the workload.
Medical Disclaimer: This article is for educational purposes only and does not constitute medical advice. Always consult a physician or certified healthcare professional before beginning any new exercise routine, especially if you have pre-existing joint conditions, cardiovascular issues, or physical limitations.
Referenced Guidelines & Institutional Standards
-
American College of Sports Medicine (ACSM)
Guideline: ACSM Guidelines for Exercise Testing and Prescription (11th Edition) – Progression and Volume Standards for Novices.
Application: Supports the recommended training frequency of 2–3 non-consecutive days per week for novice populations to allow 48 hours for neuromuscular and connective tissue recovery.
Source: ACSM Exercise Guidelines -
National Academy of Sports Medicine (NASM)
Guideline: Integrated Training Concepts & The Optimum Performance Training (OPT) Model: Stabilization Endurance Phase.
Application: Supports the incorporation of isometric holds (Forearm Planks) and single-leg balance drills to build foundational joint stability and core integration prior to loaded or high-velocity exercise.
Source: NASM OPT Model Framework -
National Strength and Conditioning Association (NSCA)
Guideline: Basics of Strength and Conditioning Manual – Bodyweight Exercise Regressions and Joint Biomechanics.
Application: Supports replacing high-impact plyometrics (Jump Squats) with low-impact hinge patterns (Bodyweight Hinge with Pause) for unconditioned beginners to minimize high shear stress on the knee cartilage and lower back.
Source: NSCA Exercise Technique Resources