
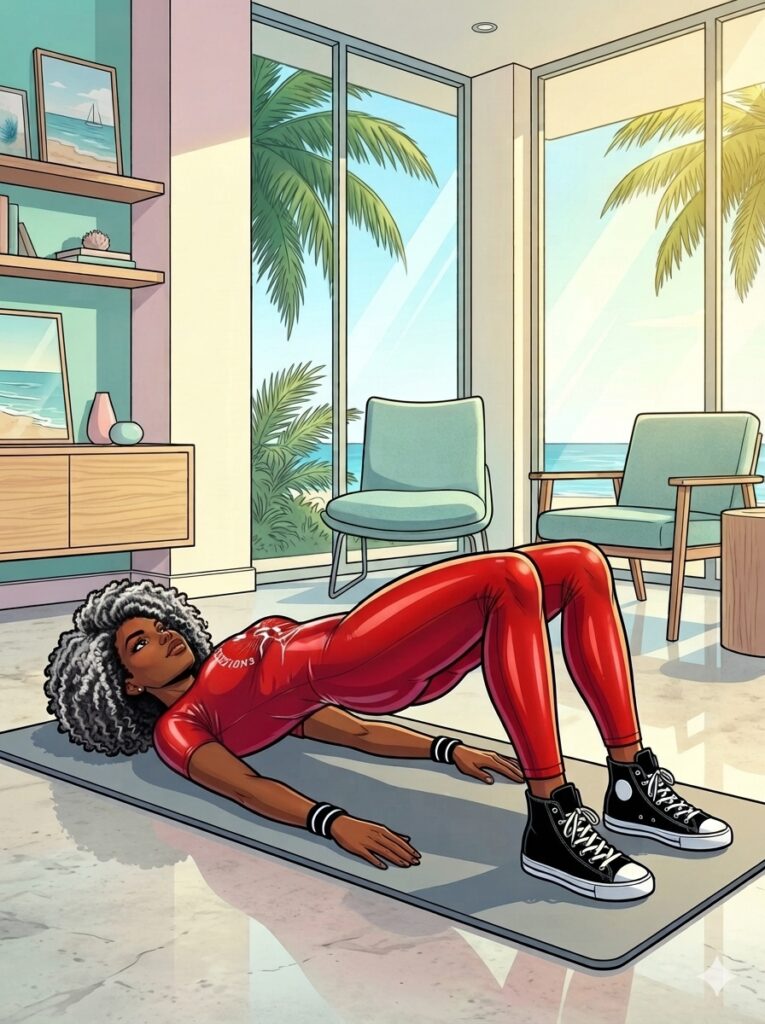
Prolonged sitting locks the mid-back into chronic flexion. Desk work, phone use, and driving collapse the chest inward, flattening the natural curve of the thoracic spine and immobilizing the ribcage. When the mid-back loses its ability to rotate and extend, the body forces adjacent joints to compensate. The lumbar spine and shoulder complex take the hit, leading to lower back strain, neck tightness, and rotator cuff impingement.
Related Reading: Ready to build bulletproof joints and functional mass? Read our guide: Functional Kettlebell Exercises for Total-Body Stability & Muscle
Restoring rotational and extension capacity requires deliberate end-range motor control, not fast repetitions or high volume. Execute these four joint-friendly mobility drills to restore mid-back movement while protecting your lower back.
Biomechanical Guidelines for Spine Safety
High-repetition mobility routines fail because they cause muscular fatigue. When postural muscles tire, motor control breaks down, and the body defaults to path-of-least-resistance movement—usually arching or twisting through the lower back.
Follow these three rules to keep movement locked strictly within the thoracic segments:
- Low Volume, High Precision: Perform 2 to 3 sets of 6 to 8 slow, controlled repetitions per side. Spend 3 to 4 seconds on each eccentric and concentric phase.
- Movement Timing: Use these drills dynamic-style before strength workouts to prime rotational capacity. Reserve long, static holds for post-workout recovery or standalone mobility sessions.
- Enforce the Lumbar Anchor: The lower back must remain completely stationary. If your hips sway or your pelvis tilts during thoracic rotation, you are moving from the wrong segment and stressing the lumbar discs.
The 4 Thoracic Mobility Drills
1. Seated Foam Roller Thoracic Extension
Standing extension drills often backfire. Without a physical block, people arch their lower back, dumping shear stress directly into the L4-L5 vertebrae. Sitting against a backrest locks the pelvis and isolates movement to the thoracic segments.
Setup & Execution:
- Sit upright on a chair with feet flat on the floor, knees at 90 degrees, and glutes pressed against the backrest.
- Place a small foam roller or rolled dense towel vertically behind your mid-back along your spine.
- Interlace your fingers behind your neck to support your head. Point your elbows straight ahead to keep the shoulder blades clear.
- Exhale fully as you lean back over the roller, hinging purely across the mid-back segment.
- Inhale at the point of maximum extension, hold for one second, then return to the starting upright position.
- Adjust the roller up or down one vertebra and repeat.
Prescription: 2 sets of 6 to 8 reps across 3 distinct mid-back segments.
2. Quadruped Side-Lying Thoracic Rotation (Open Book)
Standard kneeling rotation drills allow the pelvis to tilt, creating a false perception of mid-back rotation. Side-lying with stacked knees pins the pelvis, enforcing true thoracic mobility.
Setup & Execution:
- Lie on your side with your hips and knees bent at 90 degrees.
- Place a foam roller under your top knee and press down firmly to lock your pelvis in place.
- Extend both arms straight ahead on the floor, stacking your palms.
- Inhale, then reach your top hand toward the ceiling and rotate across your chest like opening a book.
- Exhale completely as your top shoulder blade reaches toward the floor. Follow your top hand with your eyes to maintain cervical alignment.
- Pause for 2 full seconds at end-range without letting your top knee lift off the roller. Return to the start position.
Prescription: 2 sets of 8 reps per side.
3. Bench Preacher Lat & Thoracic Stretch
Dynamic bridge rotations put excessive shear force on the lumbar spine for anyone with mid-back stiffness. This preacher position variation unloads the shoulders, stretches tight lats, and builds extension capacity without spinal load.
Setup & Execution:
- Kneel facing a sturdy bench or chair, holding a wooden dowel or broomstick with hands shoulder-width apart, palms facing up.
- Rest your elbows on the bench at shoulder width.
- Hinge at your hips, sitting back toward your heels to set the lower back.
- Lower your chest toward the floor while bending your elbows, bringing the stick over your head.
- Keep your lower back flat—do not let your stomach collapse toward the floor. Hold the end position for 3 deep diaphragmatic breaths before resetting.
Prescription: 2 sets of 6 reps (3-breath hold per rep).
4. Wall-Supported Thread the Needle
Floor quadruped drills can press uncomfortably into wrists and knees. This standing variation removes joint pressure while using the wall to deliver clear feedback on pelvic sway.
Setup & Execution:
- Stand arm-length away from a wall with feet hip-width apart and knees slightly soft.
- Place both palms flat on the wall at chest height.
- Hinge slightly at the hips to establish a stable, athletic stance with a flat spine.
- Lift your right hand and slide it underneath your left arm, reaching across your torso toward the left side.
- Rotate your ribcage, head, and eyes with the movement while keeping both hips facing straight ahead.
- Return to the start position and repeat on the opposite side.
Prescription: 2 sets of 8 reps per side.
Weekly Integration Plan
Perform these four movement patterns 3 to 4 days per week prior to training or during dedicated movement breaks. Focus on crisp positioning, deliberate breathing, and clean execution. Real mobility gains come from consistent motor control, not forced range of
Scientific Reference:
-
Heneghan, N. R., Lokhaug, S. M., Tyros, I., Longvastøl, S., & Rushton, A. (2018). Clinical reasoning and practice principles for thoracic spine assessment and management in musculoskeletal physiotherapy: A international survey. Musculoskeletal Science and Practice, 38, 108–117. https://doi.org/10.1016/j.msksp.2018.09.011
Whenever you are ready, send over the next raw draft, topic, or outline y
motion.